
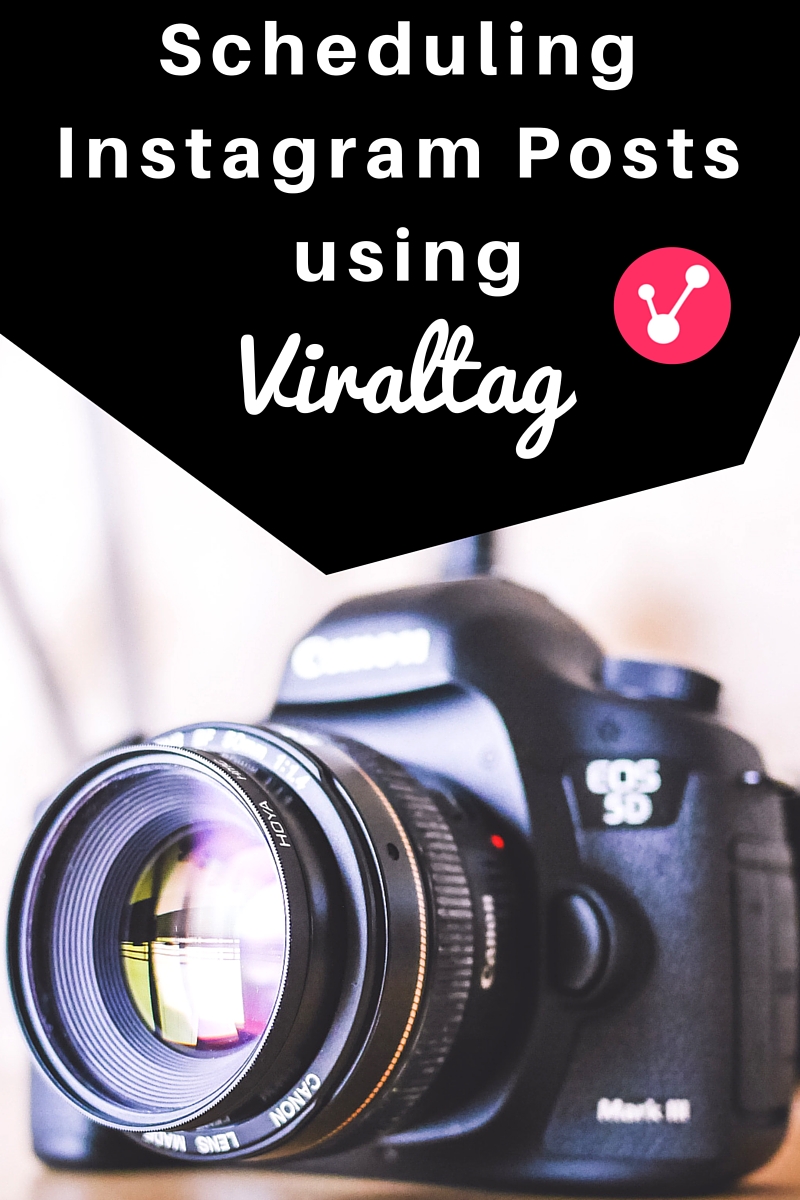
Scheduling Your Instagram (& Pinterest) Posts Using Viraltag
تواجدنا على السوشيال ميديا مهم جداً عشان التسويق بس لازم نكون واقعين و نعترف أنه بيشفت الوقت بشكل رهيب! و عشان كده أختراع ممتاز إسمه فيرال تاج إكتشفناه من فتره قريبه. هو ليه مميزات كتير بس الأهم بنسبه لنا كان أنه شغال في الشرق الأوسط عادي مش زي كتييير من الآبس الثانيه.وقت النشر حيتم إرسال تذكير لك عشان تنشر الصوره و التوصيف اللي كنت مجهزه مسبقاً.
جربوه لمدة 14 يوم مجاناً الأن
Posting multiple times a day on Instagram is key for your business growth and essential for your branding. However, it isn’t easy and definitely time-consuming. Solution? Use a third-party app to help you schedule your IG posts!
For us, Modern Khadijah Academy, we had a HUGE issue to find an app that operated in the Middle East (most of the ones out there don’t!) budget friendly and integrates well with Canva (can’t live without it either!). After weeks of searching, we finally discovered Viraltag ! It is everything we were looking for.
We would like to point out that Viraltag (and all scheduling apps out there) CANNOT post automatically on your behalf, instead you’ll get a notification reminding you to manually click the publish button.
p.s Video is in Arabic with English subtitles.
Start your 14 days free trial by clicking here.
Video Transcript:
Today’s video is all about the life-saving app we just discovered recently to help us bulk-schedule our Instagram posts without going nut!
Viraltag is the name of the app we are currently using.
What really stood out for us and encouraged us to sign-up for Viraltag, were four main reasons:
Firstly, it is available for Middle Eastern countries! You might be shocked to know that most of the popular Instagram scheduling apps out there aren’t available in the Middle East and most of the Far East.
Secondly, you could easily link your Viraltag account with your Dropbox, Canva and GoogleDrive accounts, and if you are anything like us, we are practically living on Canva and Google Drive!
Thirdly, the price! Oh! We had to ask about how much it costs, right? As a small business owner we know the meaning of being on a shoe-string budget but we also understand the importance of investing (wisely) in plug-ins and apps which will help us save time and focus more on the important tasks to keep our business moving forward.Viraltag is by far one of the most affordable scheduling apps out there, at USD 24 (ideal for small businesses) , you get unlimited posts (Oh YEAH!) and analytics! Analytics is everything in business, we need it to know what kind of content works and what doesn’t.
Fourthly, it is straight forward and SUPER easy to use.
To create an account and start your 14 days trail with Viraltag, you’ll need to sign-up through your desktop (laptop or PC) , download the app from your app store- available for both android and iphone.
Once you are done with the signing-up process, you’ll land on your dashboard page. It is time to link your Viraltag account to your Instagram account (or the other social media platform appearing on the screen), and you will be asked to verify your chosen account.
Now it is time to try out the posting (scheduling) part
This is done by clicking on the “Post” button located on the left-hand side, then choose the image you want to post. You have the option either to upload it from your computer or from you Google Drive/IG/Dropbox ,etc..
Now this is the fun part, you get to write the description you want to on your desktop! We were having such a hard time writing lengthy, valuable content with every photo we posted on Instagram on our mobile devices! Still prefer the traditional keyboard, less typo and less painful! Trust us your hand and fingers will thank you for this.
If you are using Viraltag for Pinterest , Twitter & Facebook you’ll get the option to include the URL link to drive traffic to your blog post or website (or lead page).
Click on “Schedule” to set the date and time you wish your photo to be posted on, click “ Ok”.
You can check the posting of the desired photo had been scheduled correctly by going to your “Scheduled posts” section. You are also given the option to edit your scheduled posts or even delete it if you wish.

